How to make your own website using Weebly
Wordpress isn't the only option for bloggers. Rachel Banning-Lover teaches you how to use Weebly...


Having your own website, blog, and online portfolio is increasingly becoming a necessity for any journalist trying to get noticed in the job market today, but how do you even go about making your work look semi-professional without paying for a website designer but going beyond just plopping your CV on LinkedIn?
There are certainly plenty of tools online to design a website to suit your individual needs– and while Wordpress is probably the most well-known blogging platform, Pressfolio specifically designed for journalists looking to build an online portfolio, and about.me a fantastic option for creating a basic website in just five minutes, there's something rather special about the simplicity of Weebly.
As a drag-and-drop web builder, it's certainly more user friendly than Wordpress - so here's how to get started.
STEP ONE: Adding a site & picking a theme
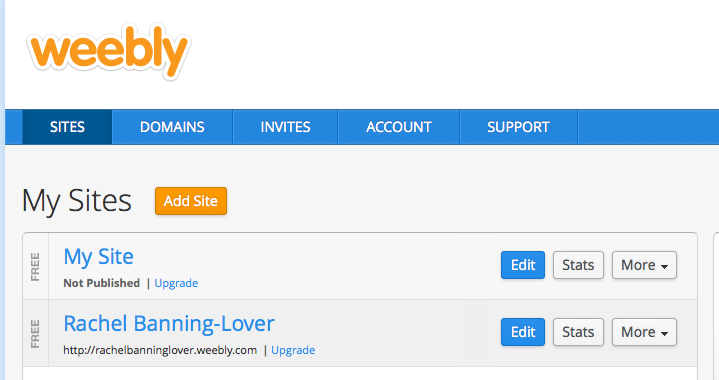
Firstly, after signing up for an account – you want to click on the 'add site' button.
You’ll then be given the option to choose between building a website, blog, or store. (Tip: Want your site to be all those things? No problem – after building your initial site, you can come back and add blogging and store elements. But for now just click on build a site.)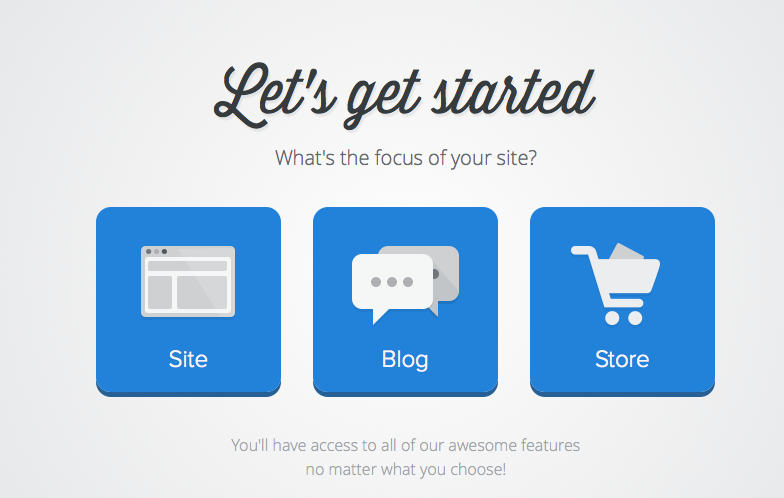
As you can see, the site pretty much talks you through the steps as you go – so now lets pick a theme…
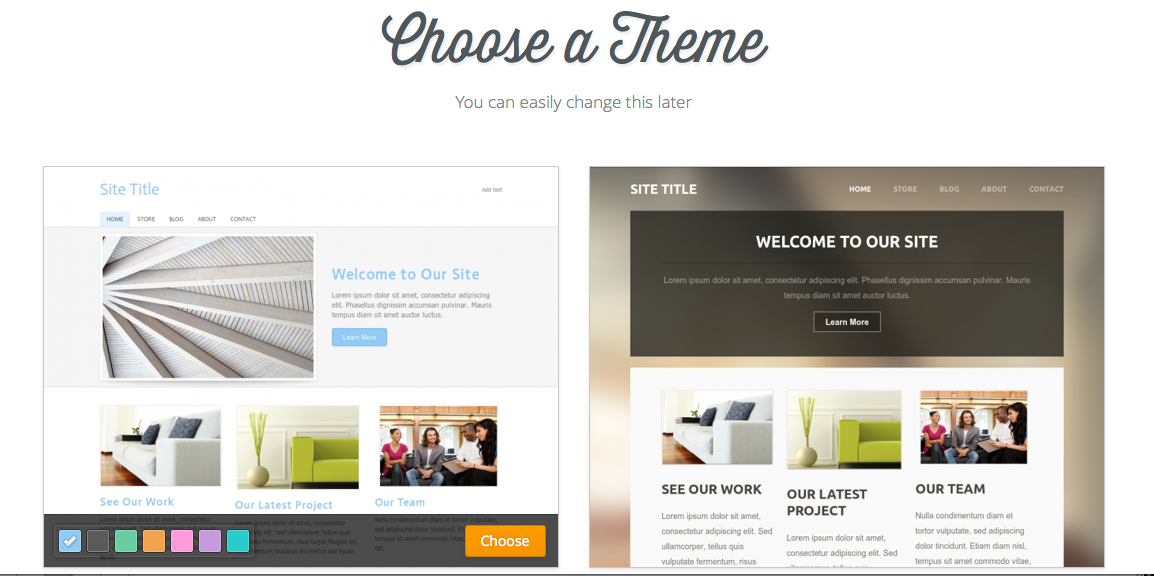
You’ll see here that as well as being able to pick a theme you can also customise the colours of the buttons and subtitles – we’ll leave that for now though.
STEP TWO: Choosing a website domain
Having picked a theme – you now have to choose a website domain for your website. I recommend creating a website address that’s a sub-domain of Weebly as that’s free, but you can also pay extra for a .com, .net or .org domain name.
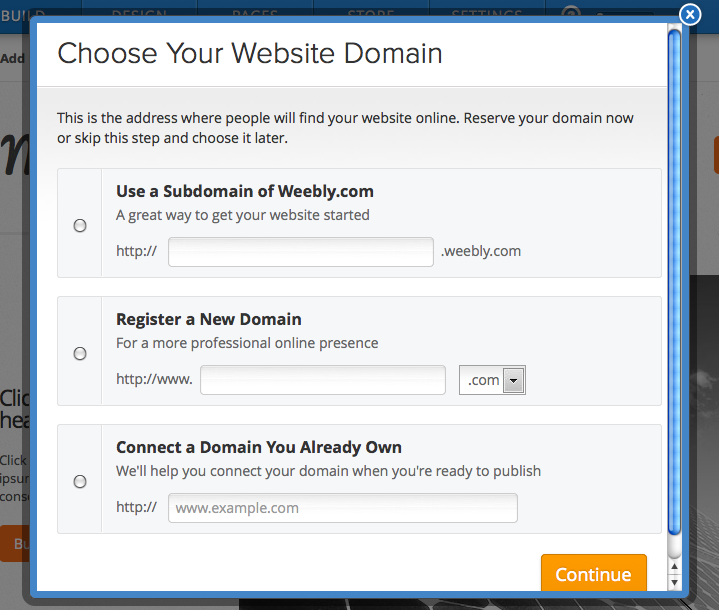
Once you’ve picked your domain name, you can than move on to the fun part – building and designing your own website.
STEP THREE: Editing text and photos on the existing template
Whatever theme you pick, the dashboard on the left of the site will be the same – and it is easy to edit, add, or remove features from your site.

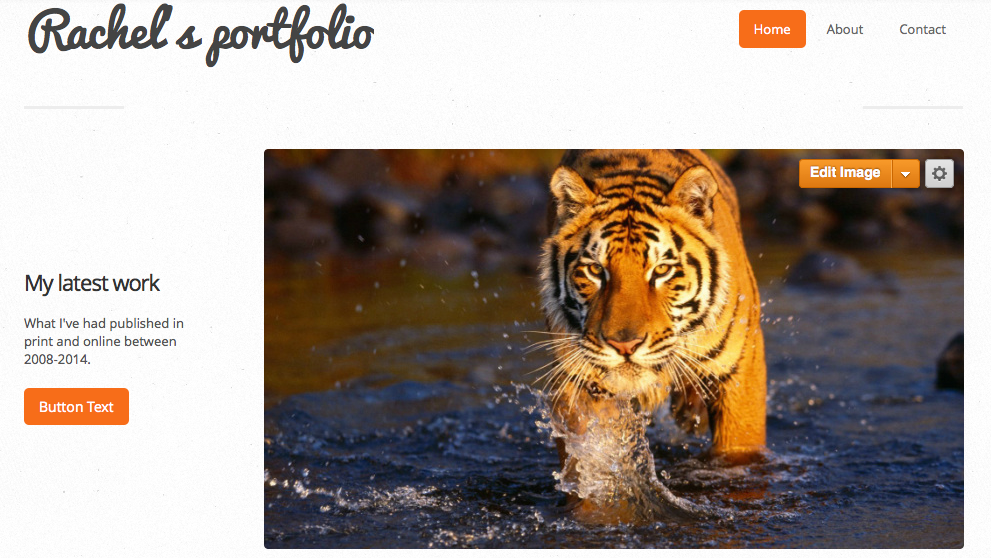
Firstly, though let's work with what we’ve got – to change the title of the website, I just double click on it and then type in a replacement – in this case I went for ‘Rachel’s portfolio’.

It works the same with editing the other features – to add a headline and edit the existing text, just click on the outline. When a text box is clicked on, a toolbar will also pop up where you can change the font colour, size, and so on…

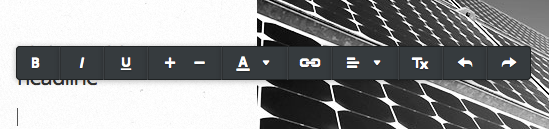

As shown above, there might also be an option to edit ‘button text’. A button, when clicked on by readers, will take them to a different page in your website or an external link.
Click on it once and you’ll get this window.

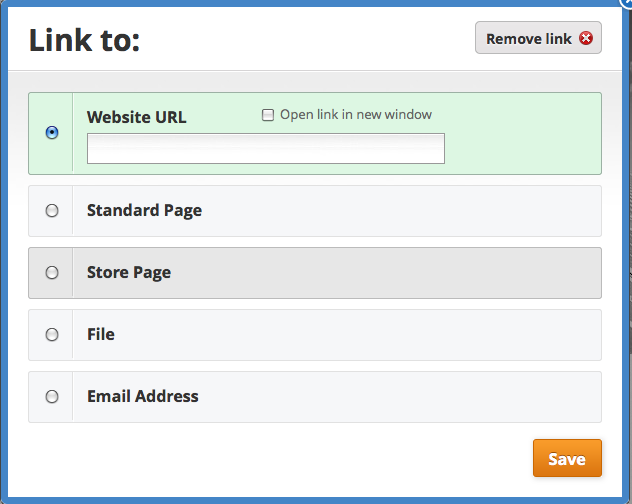
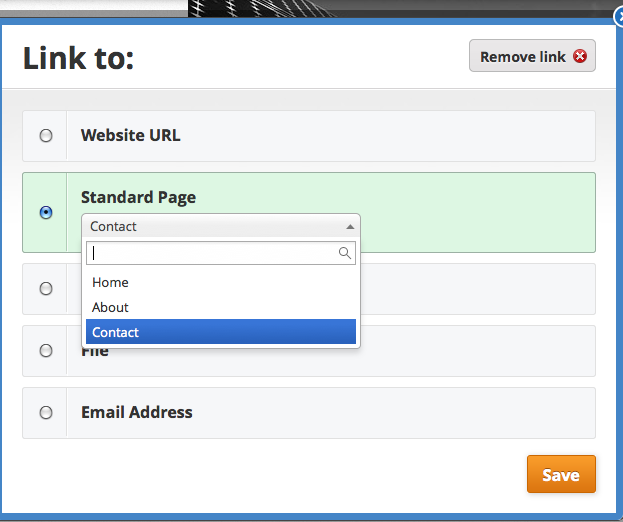
From there you can go to the link option and add a hyperlink to another website, select a page from your own website (if you’ve got more than one page) or link to a file the reader can download.
Editing an image – if you want to change any images on your site, that is also simple – just head to the right corner of any image and and click on edit image. You’ll then be directed to a prompt window to ‘add an image’ – where you can select a photo from your computer or add an image url.
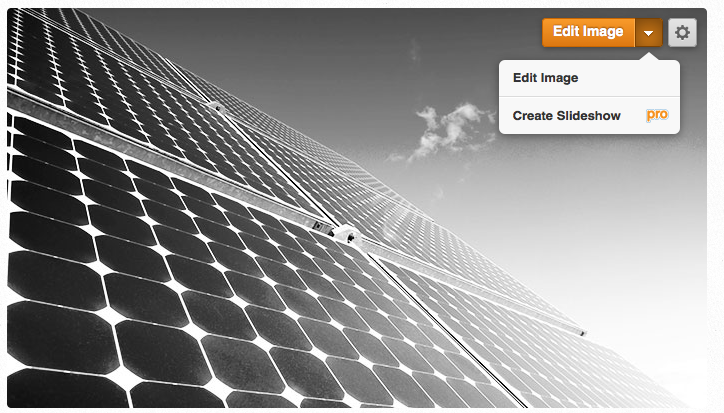
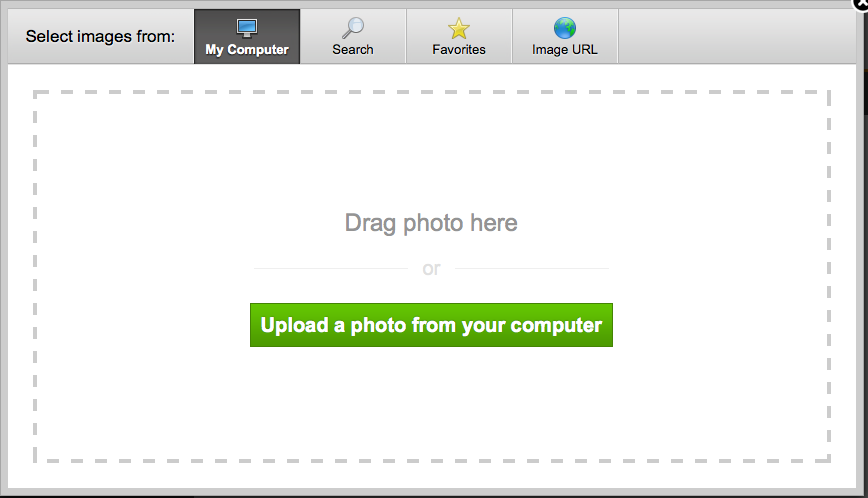
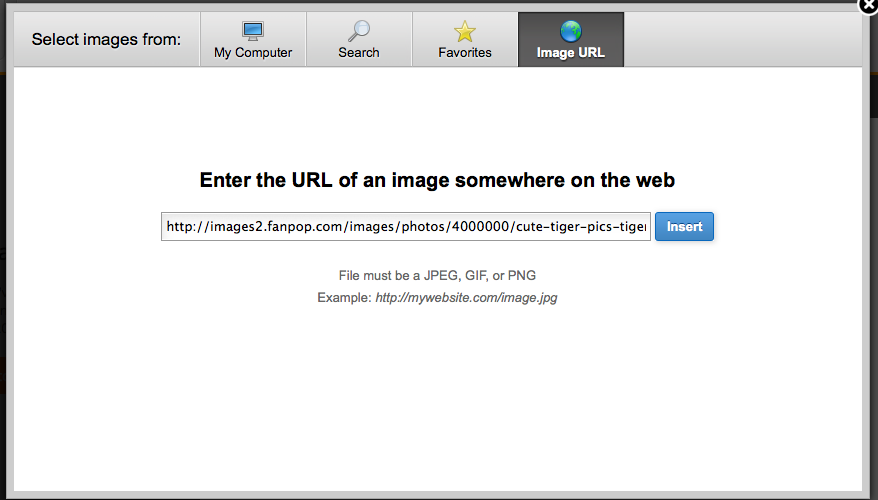
If you want to resize, crop, or edit your image, once you’ve selected one you can do that too.
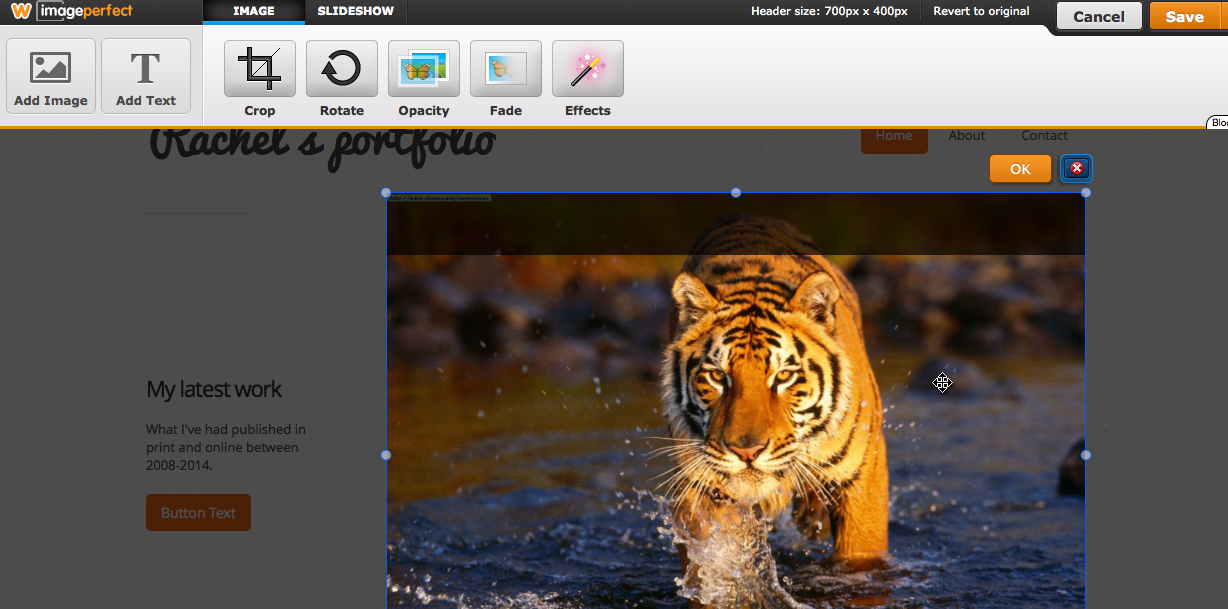
When done just click save in the top right hand corner.
Ok so now we’re starting to get somewhere – we’ve given our site a name, a description, and added a big photo.
STEP THREE: Adding other elements to your site - text, images, links
But the next step is to customise the site just how you want – and this is where Weebly comes into its own.
You’ll see that once you scroll below the template that comes with your theme, there’s the option to drag other elements into place.

It’s really so simple – you just pick elements from the menu bar on your left, hold your mouse down on them and drag them where you want them.
You add a title like this…
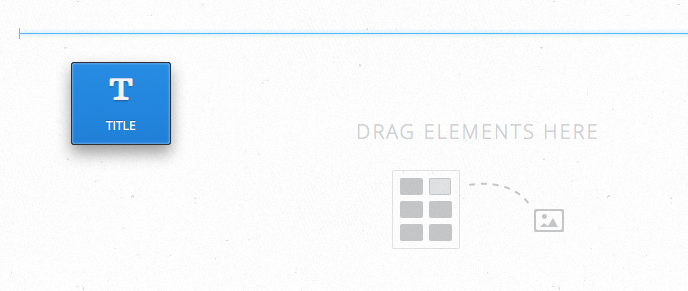
And then just change the text, as you learned earlier.

Add a text box like this... just dragging and dropping.
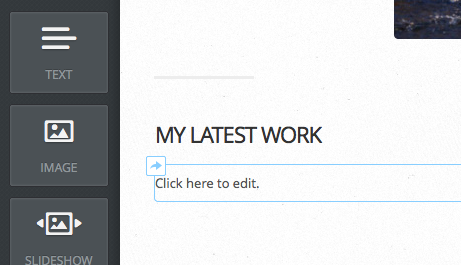
And for more variety you can and an image with text as well.

Once again if you want to edit text or a photo – you just click on the relevant box.
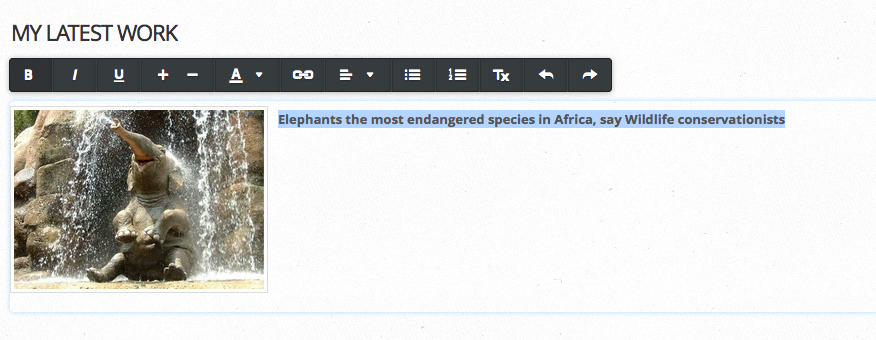
And so you also want to add links to sites where people can find your work? Simples! Just highlight the text you want the link to appear behind and click on the link icon on the toolbar.

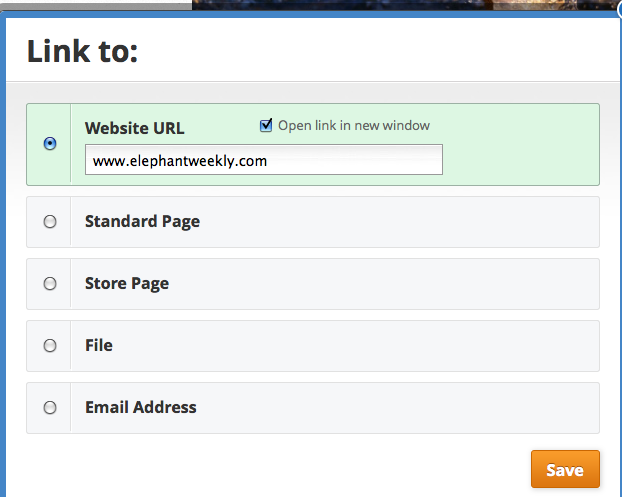
A good tip is to also tick the box ‘open in a new window’ so readers don’t have to leave your impressive body of work to see something else you’ve written.

STEP FOUR: Taking your site further- add columns, social media icons, videos, extra pages.
As you will see under the ‘basic’ tab, there are a range of options for displaying your work – text only, image only, image and text, maps, slideshows etc.

But once you’ve gathered the basics, there are options to change the structure (adding dividers, columns, search boxes, buttons).
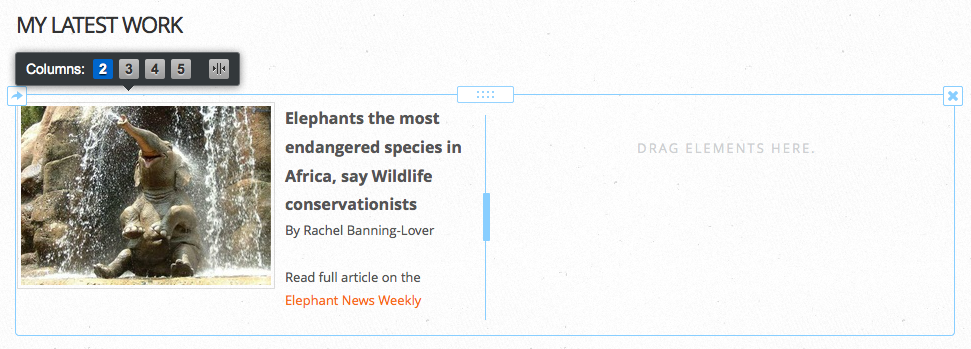
You can also add other forms of media such as video or audio. There's even the opportunity to build a community on your site by adding a forum or poll. Oh and don’t forget your social media.

The simple formula applies to everything though – just click and drag.
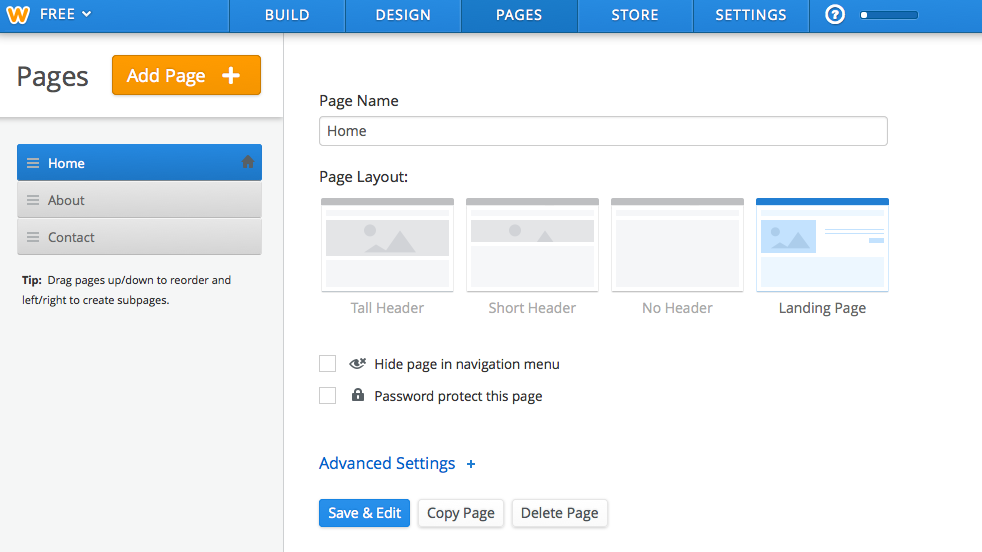
Ok, so fast-forward a bit, you’ve played around with how you want your website homepage to look like – what next?
One option is to add additional pages - maybe you want separate pages for your CV, your blog, or the different types of work you want to display. If so, just go to the pages option for more instructions.
STEP FIVE: check out the mobile version of your site
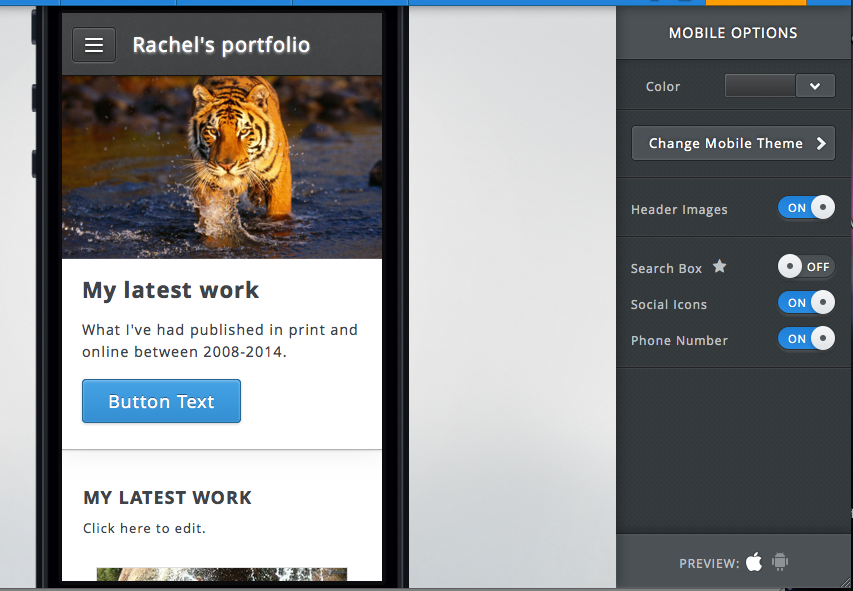
But for now, why not see what the mobile version of your site will look like - just go to the top right-hand corner of the website and click between the computer and phone views.
This is a great advantage of Weebly as it allows you to both view and edit how you site would look like on a smartphone – you can even switch between an Apple and Android view!
STEP SIX: publish your site
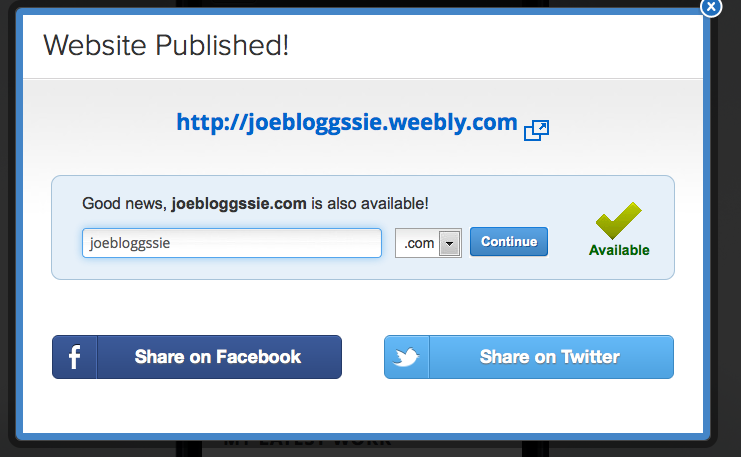
Well now we’ve had a quick explore round the site – it’s time to publish – just click on the button at the top right corner of the screen.
It will ask you to label your website with a category...

And then ta da!
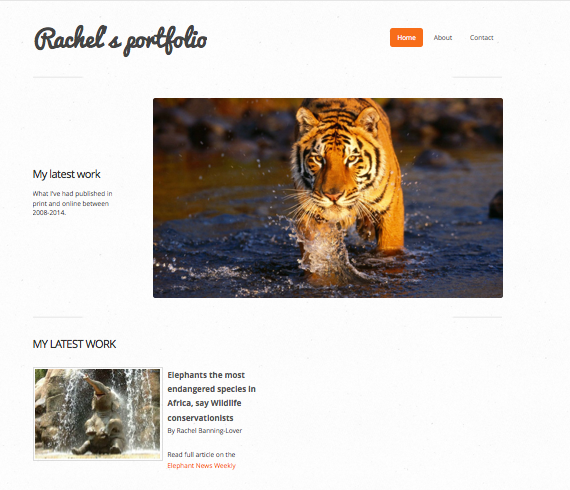
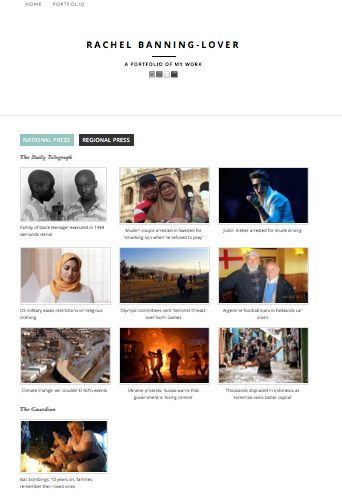
If you want to check out some more tutorials, Weebly's got plenty here. You can also check out how I used Weebly to start building my own portfolio earlier...
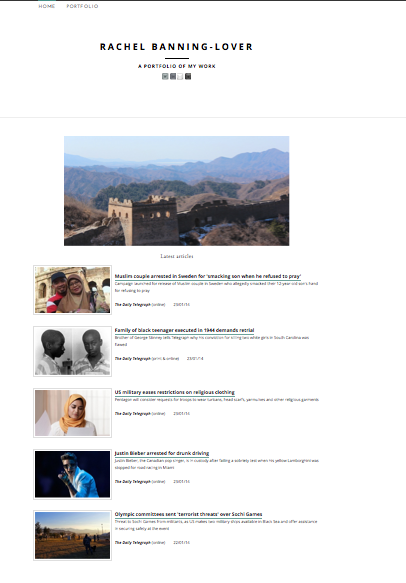
I've still got a bit of a way to go though.